When you try to capture a screenshot with the print screen button of your keyboard you leave some important details like cursor, text flash etc. To resolve this problem we have a great tool called ShareX for Windows. It is a freeware utility. This tool is not only used for taking screenshots but can also be deployed for uploading files at different destinations. You can also operate this tool with the help of hot-keys. Another great thing about this tool worth mentioning is its capability of capturing screenshots with transparency and shadows. ShareX also has a built-in editor which can easily modify your captured screenshots.
The left Menu Bar
The application has a menu bar situated at the extreme left of the program. All the important options it has are discussed below.
1. File upload
It enables you to upload any image to the cloud. By default it saves the uploaded files at “Imgur” image hosting website.
2. Capture
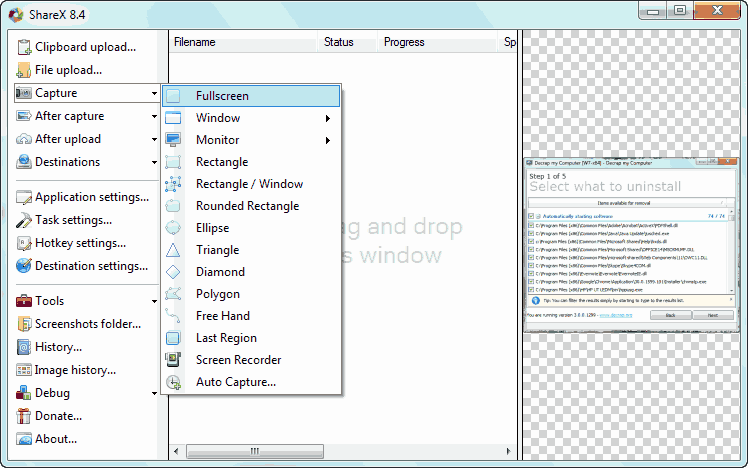
You can take a screenshot by simply clicking on this option. It is stuffed with loads of options to choose from. You can take screenshots of the entire screen or only of a particular application. You can also capture screenshots with different shapes like rectangle, round, triangle, free hand and many others. You can also use the screen recording option which will result in either a video file or animated GIFs. Auto-capture is also a powerful option in which you can take the picture of your screen after “n” seconds recursively, and then upload them to the specified location in your computer’s hard drive or at cloud.

3. After Capture
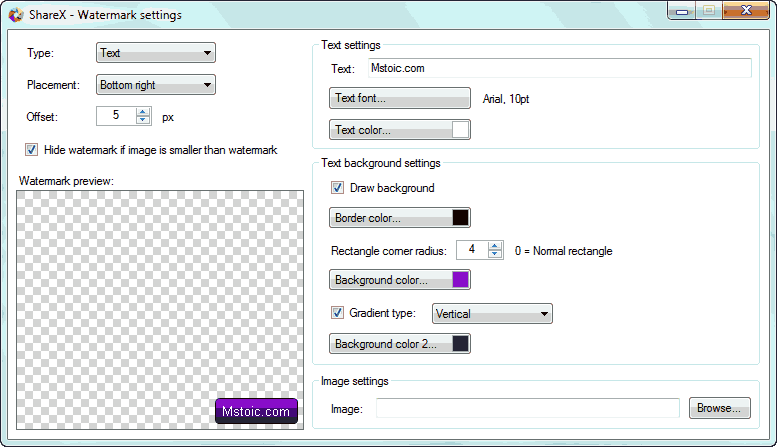
In this option we have some after effects which can be applied after the screenshot has been captured. You can add effects to the captured screenshot and you can apply watermark just by clicking on the “Add Watermark” button under the “After Capture” button. If you want to change the settings of the watermark, click the “Task Setting” button, then go to “Image>Effects>Watermark Configuration”.

4. After Upload
This options lets you specify what you want the application to do after your image gets uploaded. You can ask it to send the URL of the image in an email, post it to social networking site, copy it to clipboard, or use the URL shortening service and shorten the URL.
5. Destination
This is the place where you can choose which type of file is to be uploaded at which hosting website. Like you can specify different service for text files and image files, you can specify which URL shortening service to use and the social networking website to post new screenshots.
The application provides many other settings and options too. You can select the screenshots folder, define hotkeys for screen captures and use its Screen Color Picker tool to get to know any color on the screen.
Download ShareX
