WhatsApp is the most popular and free mobile messaging application. You can easily send multimedia files and text messages over the internet using WhatsApp. It supports almost every mobile device today. BlackBerry devices, Nokia Series 40, Symbian OS, Android, iPhone and Windows Phone are all the devices that can run WhatsApp. In addition to basic messaging you can create groups and can send messages to these groups. You can send unlimited number of text messages, images, videos and audio files. This article will teach you how you can easily download and run WhatsApp on your Windows or Macintosh machine.
The foremost thing you need to make it work is the Android Emulator. Android emulator is an application that runs Android OS on your computer. There are many Android emulators available on the web, but in this tutorial, we will be using BlueStacks.
1. Download And Install BlueStacks
Download any Android Emulator which will allow you to run Android OS on your PC. We will use BlueStacks for this tutorial. You can use YouWave too. BlueStacks is a free application and gives you the exact Android experience. BlueStacks App Player supports Mac OSX, Windows XP, Windows Vista, Windows 7 and Windows 8. You can download BlueStacks from this link.
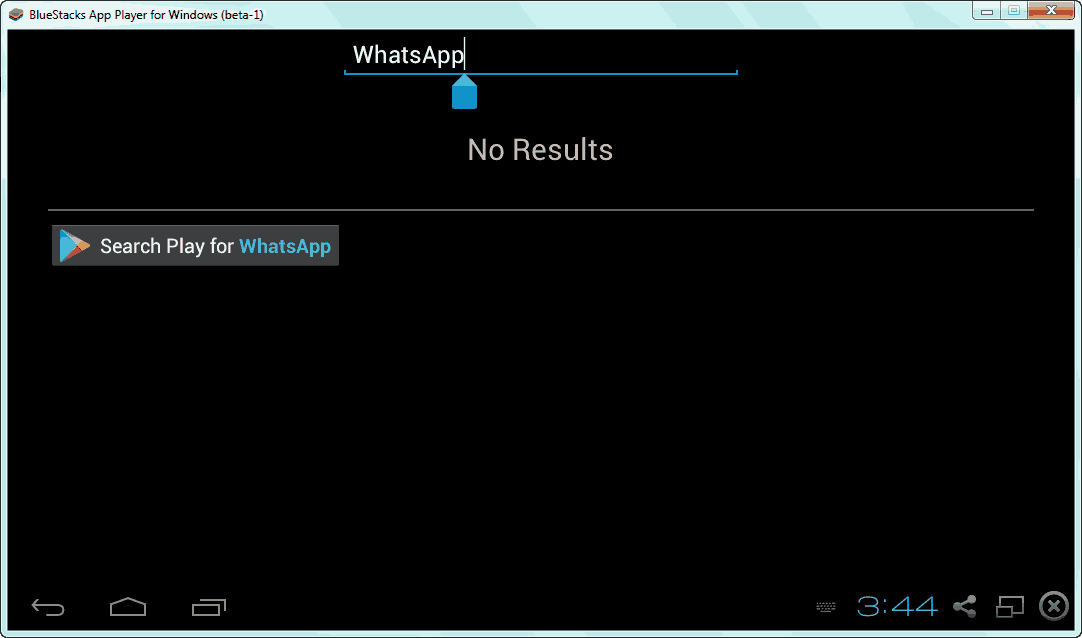
2. Searching The WhatsApp Application
Launch the installed BlueStacks App Player from the Start Menu or the desktop icon. After BlueStacks is launched, click the “Search” application and search for WhatsApp. The application will show no results as the application is not installed. Now below the search results, there will be a link to find the WhatsApp application on the Google Play Store. Click that link.
You can’t access the Google Play Store until you sign into your existing Google account or create a new one. This will then enable the AppStore and the App Sync functionality.

3. Installing WhatsApp In BlueStacks
Once you sign in to your Google account, you will be taken to the Play Store app. Now search for WhatsApp here and install the application.

4. Verifying Your Phone Number
After installation, open WhatsApp. It will ask for your phone number and the country you are in. Type the phone number and choose your country and click the “OK” button. Now you will receive a message on the phone number you provided and the application will wait for 5 minutes to receive it.
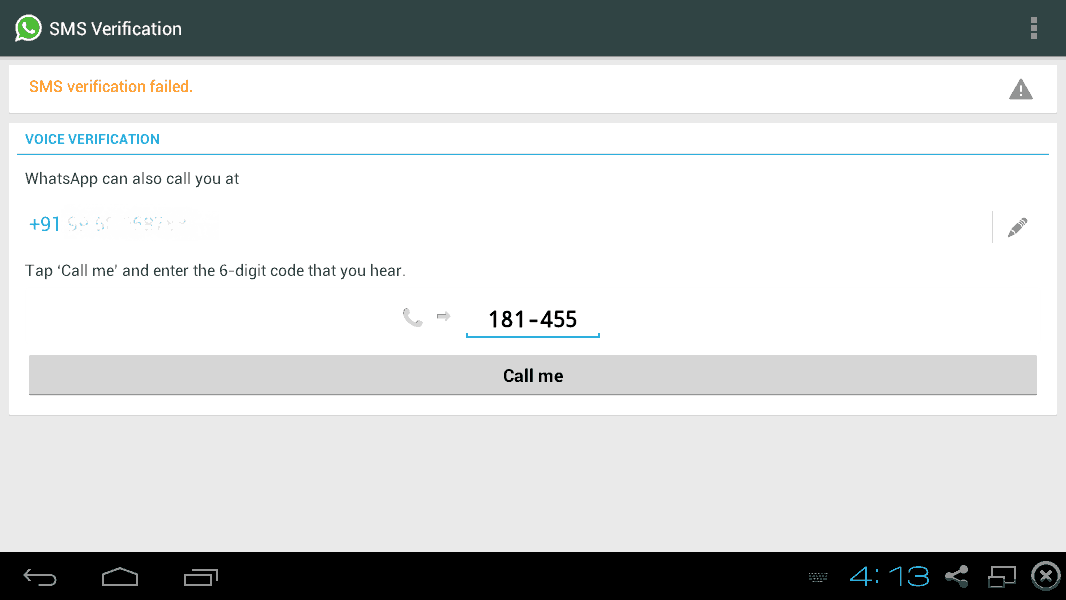
Since WhatsApp is not running on your phone, the process of verifying the phone number will fail, the application will ask you to request for a call instead and give you a box to type in the code. You can type the code which you received in the message and that will verify your phone number.
Now you can add your name and it will automatically sync all your groups and new messages to the WhatsApp application.
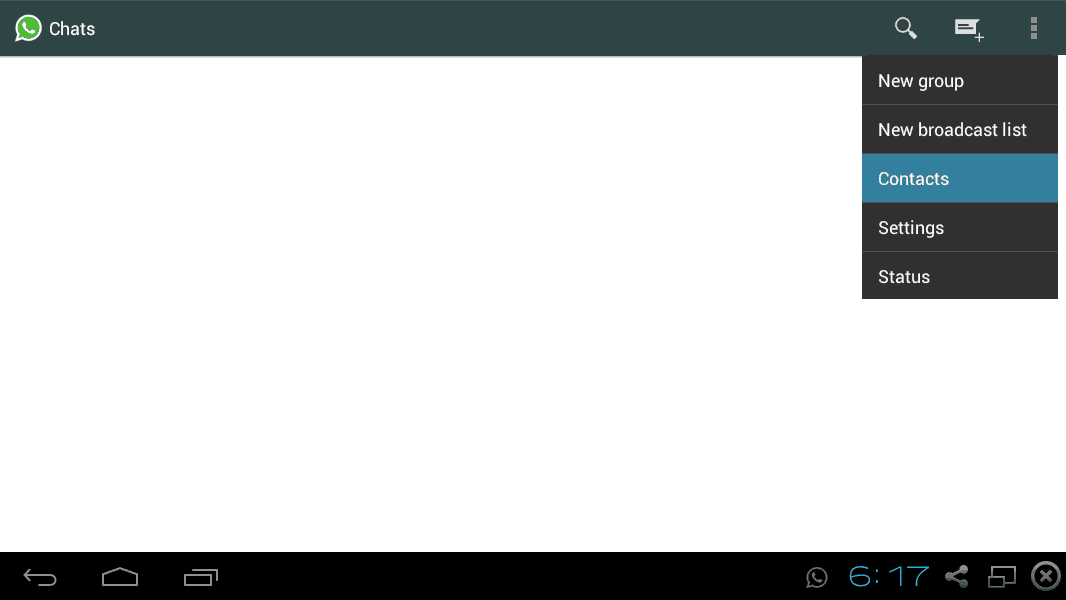
5. Adding Contacts
Contacts can be easily added by tapping the three dots in the top-right of the application and then selecting “Contacts. This will then open the contacts app and then you can add the contacts as you normally do on any Android device.
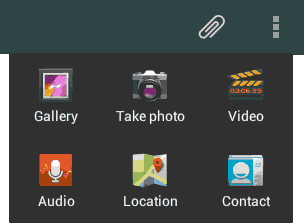
6. Sending Multimedia Files
You can also send multimedia files like images, videos, audio, etc, using WhatsApp on your PC. Just click the clip like button in the top-right of the application while typing a new message.
I hope you’ll find this tutorial useful. BlueStacks not only lets you run WhatsApp on your PC but allows you to run any Android app.
VIDEO: Download WhatsApp For PC Using BlueStacks
Use WhatsApp on PC at www.whatsapp.com
WhatsApp officially released a web version of its application at web.whatsapp.com. You can visit this URL and link your WhatsApp account with your current browser.
You need to have a working internet connection on your mobile device to enjoy WhatsApp on PC. If you don’t want to use your mobile device at all, then use our BlueStacks method explained above, and download WhatsApp for PC.

You can also use WhatsApp on your PC using YouWave.
Thank you for posting this! Is there any way to pass the messages you receive in WhatsApp to an email and vice versa?
No, not in the WhatsApp official app.
good post Hemant.