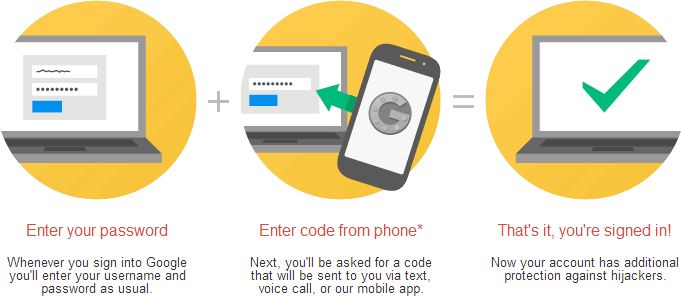
Google account is a way to reach all the Google services and apps. Gmail, Blogger, Picasa, Adsense, Google Plus and many other services are accessed using your Google account. So losing it can cause you big losses both in terms of money and social presence. So Google has a nice feature that lets you authorize a device before you can use your Google account on it. You will receive a message with a code on your authorized mobile device that will be required to login to your concerned device.
ALSO SEE : Monitor Your Gmail Account and Get the Login Details and the IPs

How to Enable 2-step Verification for Google Accounts :
1. Visit the two-step verification page by Google.
2. Login to your Google account.
3. Now on the next screen click on “See how it works!” and then click on “Start setup >>”.
ALSO SEE : How to regain access to your Facebook once it is compromised
4. Now you see a text displaying that 2-step verification is OFF for your account. Just click on “Set up 2-step verification”.

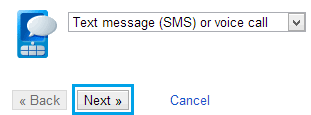
5. Now you have the option to validate your mobile device by getting a code via SMS/voice call or using Google Authenticator for Android, iOS or BalckBerry. We use Text message in our illustration. You select your appropriate medium and click “Next >>”.

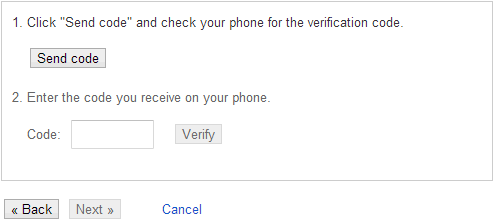
6. Now for Text message you need to enter your mobile number and then click on “Send code” to get the code on your device. Now when you receive the message put the code in the empty text box and click on “Verify”.

7. Once verified you will be asked to make the currently used device as “Trusted”. “Trusted” here means that you will never be asked for the code again on this particular device. We recommend you to make a device “trusted” only if it a private computer. Never make a public computer “trusted”.
ALSO SEE : Enhance Dropbox Security With Two-Step Verification
8. Now the last step is to confirm that you want to turn on the two-step verification for your Google account. For this, just click on “TURN ON 2-STEP VERIFICATION”.

What if You Don’t Have the Mobile Device With You :
In case you don’t have the mobile device with you or it’s lost or stolen, then you need to have backup codes ready. Backup codes are the 9 digit codes which are provided by Google for a one time use. The codes come in a set of 10 and a new set can be generated any time which marks the earlier set of codes as inactive. You will enter these codes in the same space where you enter the code which you would receive on your mobile device. You can get your backup codes once you setup the two-step verification from this link.

P.S. We highly recommend you to turn on the two-step verification to have an added layer of security for your Google account. You should also see your Gmail account login activity to keep a check on your Google account being used by someone else without your knowledge.
